

'%3E%3Cpath d='M0,0 v30 h60 v-30 z' fill='%23012169'/%3E%3Cpath d='M0,0 L60,30 M60,0 L0,30' stroke='%23fff' stroke-width='6'/%3E%3Cpath d='M0,0 L60,30 M60,0 L0,30' clip-path='url(%23t)' stroke='%23C8102E' stroke-width='4'/%3E%3Cpath d='M30,0 v30 M0,15 h60' stroke='%23fff' stroke-width='10'/%3E%3Cpath d='M30,0 v30 M0,15 h60' stroke='%23C8102E' stroke-width='6'/%3E%3C/g%3E%3C/svg%3E)

The NTV Plus J4 receiver is a powerful device for watching satellite television. In this guide, I will explain how to properly set up the NTV Plus J4 receiver to work withCCcam and OScam, so you can enjoy all the benefits of satellite television. I will share my experience and provide step-by-step instructions for setup, as well as discuss common issues and their solutions.
General information about the NTV Plus J4 receiver
Technical specifications
The NTV Plus J4 receiver has modern specifications that allow for a quality signal. The device supports resolutions up to 1080p, providing excellent image quality. It is equipped with a high-performance processor and sufficient RAM to work with various applications. It also supports MPEG-2, MPEG-4, and H.264 formats.
Connecting to the network
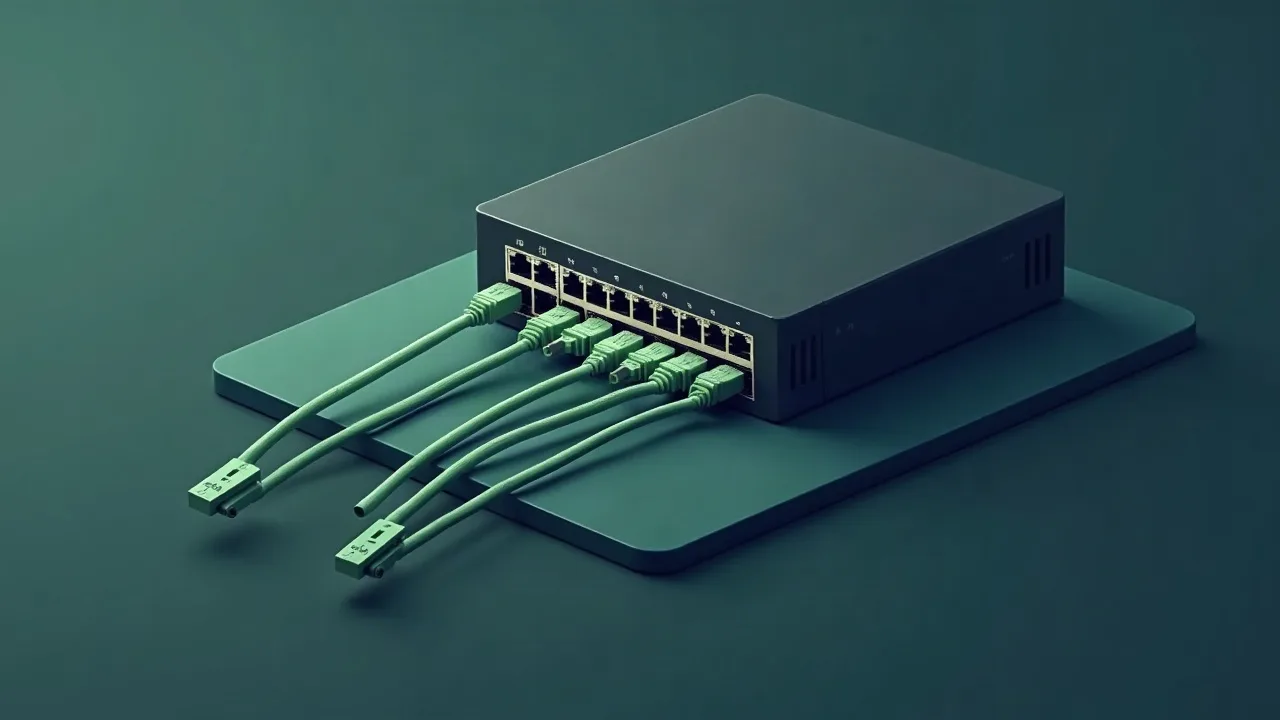
The NTV Plus J4 receiver can be connected via Ethernet or Wi-Fi. Personally, I recommend using a wired connection for more stable and faster internet access. For this, you need to connect the network cable to the appropriate port on the receiver and the router. If you are using Wi-Fi, make sure your router is within the device's range.
Compatibility with CCcam and OScam
The NTV Plus J4 receiver is fully compatible withCCcam and OScam. This allows users to use access cards from various providers and share them. It is important to ensure that you have the correct settings and configuration files to work with these protocols.
Setting up CCcam on the NTV Plus J4 receiver
Installing CCcam
InstallingCCcam on the NTV Plus J4 receiver begins with downloading the latest version of CCcam. I recommend using version 2.3.0, which works reliably with most configurations. You will need to copy the CCcam file to a flash drive and connect it to the receiver. Then, through the receiver's menu, select the software installation option.
Configuring CCcam.cfg
After installing CCcam, you need to configure the configuration file. This file is usually located at /etc/CCcam.cfg. Open it with a text editor and add the necessary lines to connect to your server. For example:
C: ваш_сервер 12000 ваш_логин ваш_пароль
F: ваш_логин ваш_пароль 1 0 0
Don't forget to save the changes and restart CCcam to apply the new settings.
Checking CCcam operation
To check the operation of CCcam, open the log file, which is usually located at /var/log/CCcam.log. In this file, you can see if your server is connecting and which channels are available. If there are errors, they will be displayed in this log file, which will help you find and fix the problem.
Setting up OScam on the NTV Plus J4 receiver
Installing OScam
Installing OScam is also quite simple. Download the latest version of OScam from the official website and transfer the file to a flash drive. Then connect the flash drive to the receiver and install OScam through the menu. Make sure the selected version is compatible with your receiver.
Configuring OScam.conf
Configuring OScam is done through the file /etc/oscam/oscam.conf. In this file, you will need to configure the main parameters, such as the server and ports. Example configuration:
[global]
logfile = /var/log/oscam.log
maxlogsize = 1000

[webif]
httpport = 8888
httpuser = admin
httppwd = admin
After you have made changes, restart OScam to activate the new settings.
Testing OScam
To test OScam, check the log files located at /var/log/OScam.log. Here you will be able to see if OScam is connecting to the server and which cards are active. If errors occur, they will be displayed in this log file.
Troubleshooting setup issues
Common errors
Some users may encounter issues such as a lack of connection to the server or incorrect configuration settings. Make sure you have entered the correct logins and passwords, and that the server is accessible.
Checking connections
If you are having connection issues, check all connections. Make sure your internet is working and that the device is connected to the network. I recommend restarting the device and the router if the connection is absent.
Logs and diagnostics
Logs are the best way to diagnose problems. If you see error messages in the logs, try searching for them online or on forums. Often, other users have already encountered similar issues and found solutions.
How to check the compatibility of the device with CCcam?
Check the technical specifications and supported protocols.
What to do if CCcam is not working?
Check the configuration settings and connection to the server.
How to update OScam on the device?
Download the latest version and follow the installation instructions.
Where to find the logs for CCcam and OScam?
Logs are usually located in /var/log/CCcam.log and /var/log/OScam.log.
How to choose a provider for CCcam?
Look for stability, speed, and user support.
Additional security settings
Security is an important aspect when using the NTV Plus J4 device with CCcam and OScam. To protect your data and access to the server, additional measures should be taken. First, always use complex passwords for accessing your server and the OScam interface. Avoid using standard passwords like "admin" or "12345".
Secondly, consider using a VPN to encrypt your internet traffic. This will help prevent possible attacks and data leaks. There are many VPN services that can be configured on your router or on the device itself.
Updating the firmware of the NTV Plus J4 device
Updating the firmware can improve the device's performance and resolve some issues. To update the firmware, you need to go to the settings menu and select "Update." Usually, the device automatically checks for a new firmware version. If an update is available, follow the on-screen instructions.
It is important to remember that before updating, it is advisable to back up your settings so that in case of failure, you can restore the previous parameters. You can save the CCcam and OScam configuration file to a flash drive or to your computer.
Tips for choosing access cards
When choosing access cards for use with the NTV Plus J4 device and the CCcam and OScam protocols, several key factors should be considered. First, check the compatibility of the card with your equipment. Not all cards work with CCcam or OScam, so it is important to clarify this information with the supplier.
Secondly, look at the stability of the card's operation. Some cards may have issues accessing certain channels or frequently lose connection. Read user reviews and look for information on forums.
Finally, pay attention to technical support. A good provider should offer prompt assistance in case of problems. Having an active forum or chat with support can be a significant advantage.
Tips for improving signal quality
Signal quality is another important aspect to consider. Make sure the antenna is properly adjusted and aimed at the satellite. Incorrect antenna direction can lead to signal loss.
Also, check for any obstacles between the antenna and the satellite, such as trees or buildings. Sometimes it is worth trying to change the height and tilt angle of the antenna for better signal reception.
If you are using a satellite antenna, I recommend using quality cables and connectors. Cheap components can degrade signal quality and cause interference.
Practical checklist for smooth viewing
Even the best CCCam or OSCam line needs two or three simple preparations. Update your receiver firmware, reset the ECM cache once a week and keep 15–20% free space on the USB stick or internal flash so that the reader can store keys without delays.
When tuning a dish, aim for MER/BER reserve: a two‑degree offset or a loose F‑connector often causes the “freezing” that users blame on cardsharing. Keep a short patch cord to test alternative routers, and save two profiles in OSCam — one for TCP, one for UDP — so you can switch instantly if your ISP starts filtering a protocol.
Utgard.tv monitors each hub 24/7, but you can speed up diagnostics by keeping a short log of your receiver actions. Note the time when you changed the channel, which CAID was active and whether you used Wi‑Fi or Ethernet. This tiny “journal” helps engineers reproduce your environment in the lab and return with a solution in minutes instead of hours.
- Keep two line slots enabled: if the first server hits a maintenance window, the second one instantly takes over without re-entering credentials.
- Run a monthly speed and latency test. Stable 1–2 Mbps with ping <80 ms is enough for SD/HD, but if jitter exceeds 20 ms, switch the router to wired mode.
- Save the Utgard.tv status page and Telegram bot @utgard_sharing_bot to bookmarks — they publish maintenance notices before SEMrush or uptime monitors raise alerts.